A web browser doesn’t just download a web page; it also has to show
that page to the user. In the twenty-first century, that means a
graphical application.There are some obscure text-based browsers: I used
w3m as my main browser for most of 2011. I don’t
anymore. So in this chapter we’ll equip our browser with a
graphical user interface.
Desktop and laptop computers run operating systems that provide desktop environments: windows, buttons, and a mouse. So responsibility ends up split: programs control their windows, but the desktop environment controls the screen. Therefore:
Doing all of this by hand is a bit of a drag, so programs usually use
a graphical toolkit to simplify these steps. Python comes with
a graphical toolkit called Tk in the Python package
tkinter.The
library is called Tk, and it was originally written for a different
language called Tcl. Python contains an interface to it, hence the
name. Using it is quite simple:
import tkinter
window = tkinter.Tk()
tkinter.mainloop()
Usually Tk ships with Python, so you probably already have it
installed. But on some Linux distributions, you might need to install a
separate package called something like python3-tk.
Here, tkinter.Tk() asks the desktop environment to
create a window and returns an object that you can use to draw to the
window. The tkinter.mainloop() call enters a loop that
looks like this:This
pseudocode may look like an infinite loop that locks up the computer,
but it’s not. Either the operating system will multitask among threads
and processes, or the pendingEvents call will sleep until
events are available, or both; in any case, other code will run and
create events for the loop to respond to.
while True:
    for evt in pendingEvents():
        handleEvent(evt)
drawScreen()Here, pendingEvents first asks the desktop environment
for recent mouse clicks or key presses, then handleEvent
calls your application to update state, and then drawScreen
redraws the window. This event loop pattern (see Figure 1) is
common in many applications, from web browsers to video games, because
in complex graphical applications it ensures that all events are
eventually handled and the screen is eventually updated.
Although you’re probably writing your browser on a desktop computer, many people access the web through mobile devices such as phones or tablets. On mobile devices there’s still a screen, a rendering loop, and most other things discussed in this book.For example, most real browsers have both desktop and mobile editions, and the rendering engine code is almost exactly the same for both.
But there are several differences worth noting. Applications are
usually full-screen, with only one application drawing to the screen at
a time. There’s no mouse and only a virtual keyboard, so the main form
of interaction is touch. There is the concept of a “visual viewport”
that is not present on a desktop, to accommodate “desktop-only” and
“mobile-ready” sites, as well as pinch zoom.Look at the source of this chapter’s
webpage. In the <head> you’ll see a “viewport”
<meta> tag. This tag tells the browser that the page
supports mobile devices; without it, the browser assumes that the site
is “desktop-only” and renders it differently, such as allowing the user
to use a pinch-zoom or double-tap gesture to focus in on one part of the
page. Once zoomed in, the part of the page visible on the screen is the
“visual viewport” and the whole documents’ bounds are the “layout
viewport”. This is kind of a mix between zooming and scrolling that’s
usually absent on desktop. And screen pixel density is
much higher, but the total screen resolution is usually lower.
Supporting all of these differences is doable, but quite a bit of work.
This book won’t go further into implementing them, except in some cases
as exercises.
Also, power efficiency is much more important, because the device runs on a battery, while at the same time the central processing unit (CPU) and memory are significantly slower and less capable. That makes it much more important to take advantage of any graphical processing unit (GPU)—the slow CPU makes good performance harder to achieve. Mobile browsers are challenging!
Our browser will draw the web page text to a canvas, a
rectangular Tk widget that you can draw circles, lines, and text on. For
example, you can create a canvas with Tk like this:You may be familiar with the
HTML <canvas> element, which is a similar idea: a
two-dimensional rectangle in which you can draw
shapes.
window = tkinter.Tk()
canvas = tkinter.Canvas(window, width=800, height=600)
canvas.pack()
The first line creates the window, and the second creates the
Canvas inside that window. We pass the window as an
argument, so that Tk knows where to display the canvas. The other
arguments define the canvas’s size; I chose 800 × 600 because that was a
common old-timey monitor size.This size, called Super Video Graphics Array (SVGA), was
standardized in 1987, and probably did seem super back
then. The third line is a Tk peculiarity, which positions
the canvas inside the window. Tk also has widgets like buttons and
dialog boxes, but our browser won’t use them: we will need finer-grained
control over appearance, which a canvas provides.This is why desktop
applications are more uniform than web pages: desktop applications
generally use widgets provided by a common graphical toolkit, which
makes them look similar.
To keep it all organized let’s put this code in a class:
WIDTH, HEIGHT = 800, 600

class Browser:
    def __init__(self):
        self.window = tkinter.Tk()
        self.canvas = tkinter.Canvas(
            self.window,
            width=WIDTH,
            height=HEIGHT
        )
        self.canvas.pack()
Once you’ve made a canvas, you can call methods that draw shapes on
the canvas. Let’s do that inside load, which we’ll move
into the new Browser class:
class Browser:
def load(self, url):
# ...
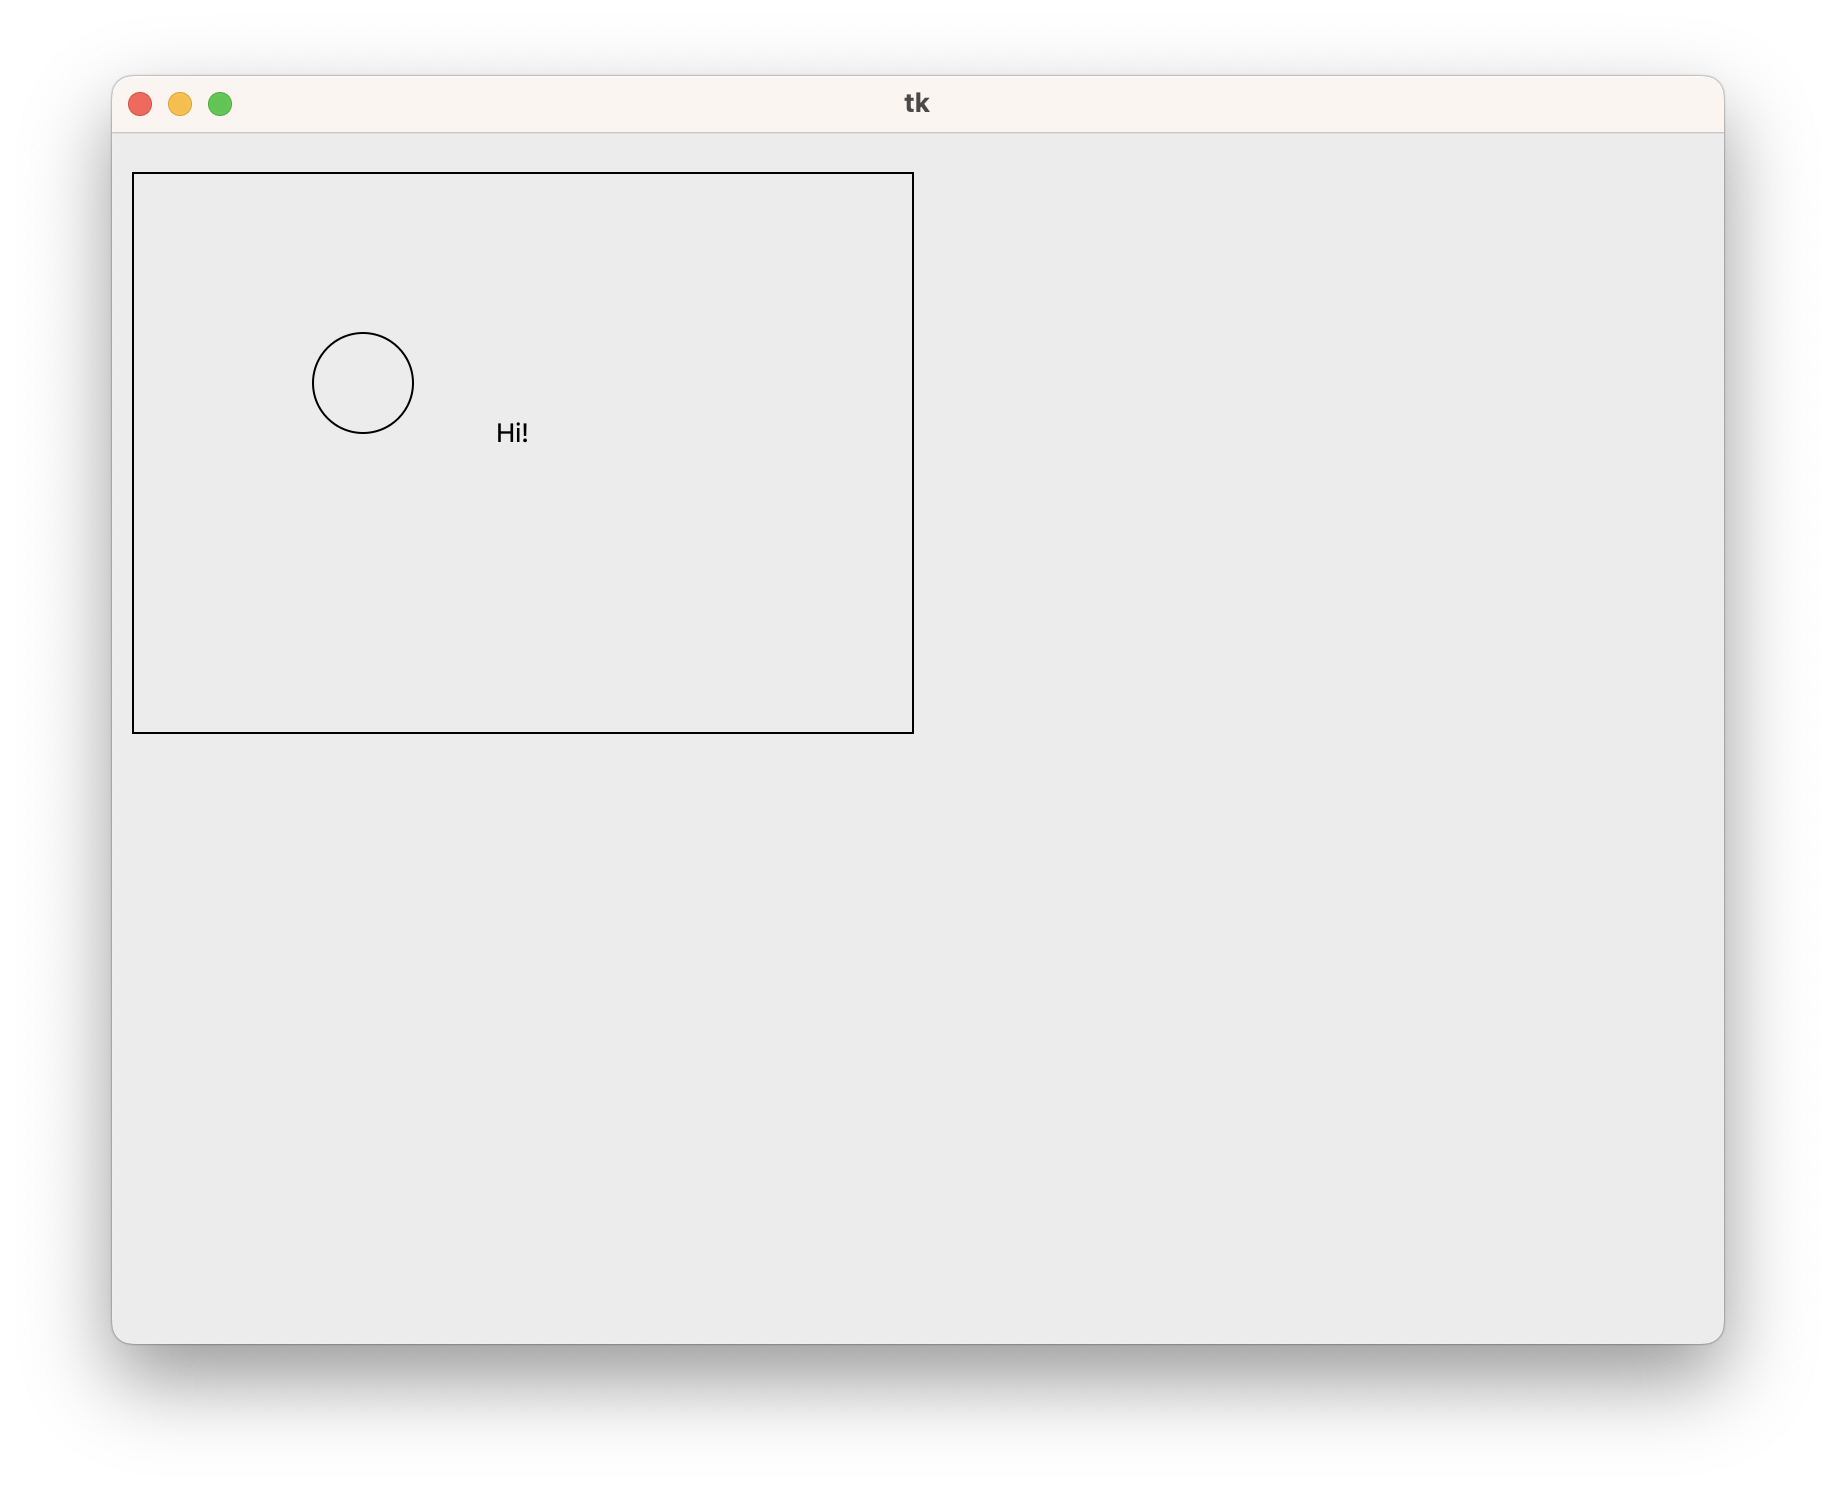
self.canvas.create_rectangle(10, 20, 400, 300)
self.canvas.create_oval(100, 100, 150, 150)
self.canvas.create_text(200, 150, text="Hi!")To run this code, create a Browser, call
load, and then start the Tk mainloop:
if __name__ == "__main__":
    import sys
    Browser().load(URL(sys.argv[1]))
    tkinter.mainloop()
You ought to see: a rectangle, starting near the top-left corner of the canvas and ending at its center; then a circle inside that rectangle; and then the text “Hi!” next to the circle, as in Figure 2.
Coordinates in Tk refer to x positions from left to right and y positions from top to bottom. In other words, the bottom of the screen has larger y values, the opposite of what you might be used to from math. Play with the coordinates above to figure out what each argument refers to.The answers are in the online documentation.
The Tk canvas widget is quite a bit more powerful than what we’re using it for here. As you can see from the tutorial, you can move the individual things you’ve drawn to the canvas, listen to click events on each one, and so on. I’m not using those features in this book, because I want to teach you how to implement them yourself.
Let’s draw a simple web page on this canvas. So far, our browser steps through the web page source code character by character and prints the text (but not the tags) to the console window. Now we want to draw the characters on the canvas instead.
To start, let’s change the show function from the
previous chapter into a function that I’ll call lexForeshadowing future
developments… which just returns the textual
content of an HTML document without printing it:
def lex(body):
    text = ""
    # ...
    for c in body:
        # ...
        elif not in_tag:
            text += c
    return text
Then, load will draw that text, character by
character:
def load(self, url):
    # ...
    for c in text:
        self.canvas.create_text(100, 100, text=c)
Let’s test this code on a real web page. For reasons that might seem
inscrutable,It’s to
delay a discussion of basic typography to the next
chapter. let’s test it on the first chapter
of 西游记 or Journey to the West, a
classic Chinese novel about a monkey. Run this URLRight click on the link and "Copy URL".
through request, lex, and load.
You should see a window with a big blob of black pixels inset a little
from the top left corner of the window.
Why a blob instead of letters? Well, of course, because we are drawing every letter in the same place, so they all overlap! Let’s fix that:
HSTEP, VSTEP = 13, 18
cursor_x, cursor_y = HSTEP, VSTEP
for c in text:
    self.canvas.create_text(cursor_x, cursor_y, text=c)
    cursor_x += HSTEP
The variables cursor_x and cursor_y point
to where the next character will go, as if you were typing the text into
a word processor. I picked the magic numbers—13 and 18—by trying a few
different values and picking one that looked most readable.In Chapter
3, we’ll replace the magic numbers with font
metrics.
The text now forms a line from left to right. But with an 800-pixel-wide canvas and 13 pixels per character, one line only fits about 60 characters. You need more than that to read a novel, so we also need to wrap the text once we reach the edge of the screen:
for c in text:
    # ...
    if cursor_x >= WIDTH - HSTEP:
        cursor_y += VSTEP
        cursor_x = HSTEP
The code increases cursor_y and resets
cursor_xIn
the olden days of typewriters, increasing y meant
feeding in a new line, and resetting x meant
returning the carriage that printed letters to the
left edge of the page. So the American Standard Code for Information
Interchange (ASCII)
standardized two separate characters—“carriage return” and “line
feed”—for these operations, so that ASCII could be directly executed by
teletypewriters. That’s why headers in HTTP are separated by
\r\n, even though modern computers have no mechanical
carriage. once cursor_x goes past 787
pixels.Not 800, because
we started at pixel 13 and I want to leave an even gap on both
sides. The sequence is shown in Figure 3. Wrapping the
text this way makes it possible to read more than a single line.
Here’s a widget demonstrating that concept:
At this point you should be able to load up our example page in your browser and have it look something like Figure 4.

Now we can read a lot of text, but still not all of it: if there’s enough text, not all of the lines will fit on the screen. We want users to scroll the page to look at different parts of it.
In English text, you can’t wrap to the next line in the middle of a
word (without hyphenation at least), but in Chinese that’s the default,
even for words made up of multiple characters. For example, 开关 meaning “switch” is composed of 开 “on” and 关 “off”, but it’s
just fine to line-break after 开. You can change
the default with the word-break CSS property: break-all
allows line breaks anywhere, while auto-phrase prevents
them inside even inside Chinese or Japanese words or phrases such as
开关. The “auto” part here refers to the fact
that the words aren’t identified by the author but instead
auto-detected, often using
dynamic programming based on a word
frequency table.
Scrolling introduces a layer of indirection between page coordinates (this text is 132 pixels from the top of the page) and screen coordinates (since you’ve scrolled 60 pixels down, this text is 72 pixels from the top of the screen)—see Figure 5. Generally speaking, a browser lays out the page—determines where everything on the page goes—in terms of page coordinates and then rasters the page—draws everything—in terms of screen coordinates.Sort of. What actually happens is that the page is first drawn into a bitmap or GPU texture, then that bitmap/texture is shifted according to the scroll, and the result is rendered to the screen. Chapter 11 will have more on this topic.
Our browser will have the same split. Right now load
computes both the position of each character and draws it: layout and
rendering. Let’s instead have a layout function to compute
and store the position of each character, and a separate
draw function to then draw each character based on the
stored position. This way, layout can operate with page
coordinates and only draw needs to think about screen
coordinates.
Let’s start with layout. Instead of calling
canvas.create_text on each character, let’s add it to a
list, together with its position. Since layout doesn’t need
to access anything in Browser, it can be a standalone
function:
def layout(text):
    display_list = []
    cursor_x, cursor_y = HSTEP, VSTEP
    for c in text:
        display_list.append((cursor_x, cursor_y, c))
        # ...
    return display_list
The resulting list of things to display is called a display
list.The term
“display list” is standard. Since layout is
all about page coordinates, we don’t need to change anything else about
it to support scrolling.
Once the display list is computed, draw needs to loop
through it and draw each character. Since draw does need
access to the canvas, we make it a method on Browser:
class Browser:
    def draw(self):
        for x, y, c in self.display_list:
            self.canvas.create_text(x, y, text=c)
Now load just needs to call layout followed
by draw:
class Browser:
    def load(self, url):
        body = url.request()
        text = lex(body)
        self.display_list = layout(text)
        self.draw()
Now we can add scrolling. Let’s add a field for how far you’ve scrolled:
class Browser:
    def __init__(self):
        # ...
        self.scroll = 0
The page coordinate y then has screen coordinate
y - self.scroll:
def draw(self):
    for x, y, c in self.display_list:
        self.canvas.create_text(x, y - self.scroll, text=c)
If you change the value of scroll the page will now
scroll up and down. But how does the user change
scroll?
Most browsers scroll the page when you press the up and down keys, rotate the scroll wheel, drag the scroll bar, or apply a touch gesture to the screen. To keep things simple, let’s just implement the down key.
Tk allows you to bind a function to a key, which instructs Tk to call that function when the key is pressed. For example, to bind to the down arrow key, write:
def __init__(self):
    # ...
    self.window.bind("<Down>", self.scrolldown)
Here, self.scrolldown is an event handler, a
function that Tk will call whenever the down arrow key is pressed.scrolldown is
passed an event object as an argument by Tk, but since
scrolling down doesn’t require any information about the key press
besides the fact that it happened, scrolldown ignores that
event object. All it needs to do is increment
scroll and redraw the canvas:
SCROLL_STEP = 100

def scrolldown(self, e):
    self.scroll += SCROLL_STEP
    self.draw()
If you try this out, you’ll find that scrolling draws all the text a
second time. That’s because we didn’t erase the old text before drawing
the new text. Call canvas.delete to clear the old text:
def draw(self):
    self.canvas.delete("all")
    # ...
Scrolling should now work!
Storing the display list makes scrolling faster: the browser isn’t
doing layout every time you scroll. Modern browsers take
this further, retaining much of the display list even when the web
page changes due to JavaScript or user interaction.
In general, scrolling is the most common user interaction with web pages. Real browsers have accordingly invested a tremendous amount of time making it fast; we’ll get to some more of the ways they do this later in the book.
Applications have to redraw page contents quickly for interactions to feel fluid,On older systems, applications drew directly to the screen, and if they didn’t update, whatever was there last would stay in place, which is why in error conditions you’d often have one window leave “trails” on another. Modern systems use compositing, which avoids trails and also improves performance and isolation. Applications still redraw their window contents, though, to change what is displayed. Chapter 13 discusses compositing in more detail. and must respond quickly to clicks and key presses so the user doesn’t get frustrated. “Feel fluid” can be made more precise. Graphical applications such as browsers typically aim to redraw at a speed equal to the refresh rate, or frame rate, of the screen, and/or a fixed 60 Hz.Most screens today have a refresh rate of 60 Hz, and that is generally considered fast enough to look smooth. However, new hardware is increasingly appearing with higher refresh rates, such as 120 Hz. It’s not yet clear if browsers can be made that fast. Some rendering engines, games in particular, refresh at lower rates on purpose if they know the rendering speed can’t keep up. This means that the browser has to finish all its work in less than 1/60th of a second, or 16 ms, in order to keep up. For this reason, 16 ms is called the animation frame budget of the application.
But scrolling in our browser is pretty slow.How fast exactly seems to
depend a lot on your operating system and default font.
Why? It turns out that loading information about the shape of a
character, inside create_text, takes a while. To speed up
scrolling we need to make sure to do it only when necessary (while at
the same time ensuring the pixels on the screen are always correct).
Real browsers have a lot of quite tricky optimizations for this, but for our browser let’s limit ourselves to a simple improvement: skip drawing characters that are offscreen:
for x, y, c in self.display_list:
    if y > self.scroll + HEIGHT: continue
    if y + VSTEP < self.scroll: continue
    # ...
The first if statement skips characters below the
viewing window; the second skips characters above it. In that second
if statement, y + VSTEP is the bottom edge of
the character, because characters that are halfway inside the viewing
window still have to be drawn.
Scrolling should now be pleasantly fast, and hopefully close to the
16 ms animation frame budget.On my computer, it was still about double that budget, so
there is work to do—we’ll get to that in future chapters.
And because we split layout and draw, we don’t
need to change layout at all to implement this
optimization.
You should also keep in mind that not all web page interactions are animations—there are also discrete actions such as mouse clicks. Research has shown that it usually suffices to respond to a discrete action in [100 ms]—below that threshold, most humans are not sensitive to discrete action speed. This is very different from interactions such as scroll, where a speed of less than 60 Hz or so is quite noticeable. The difference between the two has to do with the way the human mind processes movement (animation) versus discrete action, and the time it takes for the brain to decide upon such an action, execute it, and understand its result.
This chapter went from a rudimentary command-line browser to a graphical user interface with text that can be scrolled. The browser now:
And here is our browser rendering this very web page (it’s fullly interactive—after clicking on it to focus, you should be able to scroll with the down arrow):This is the full browser source code, cross-compiled to JavaScript and running in an iframe. Click “restart” to choose a new web page to render, then “start” to render it. Subsequent chapters will include one of these at the end of the chapter so you can see how it improves.
Next, we’ll make this browser work on English text, handling complexities like variable-width characters, line layout, and formatting.
The complete set of functions, classes, and methods in our browser should look something like this:
class URL:
    def __init__(url)

    def request()
def lex(body)
WIDTH, HEIGHT
HSTEP, VSTEP
def layout(text)
SCROLL_STEP
class Browser:
    def __init__()

    def draw()

    def load(url)

    def scrolldown(e)
2-1 Line breaks. Change layout to end the
current line and start a new one when it sees a newline character.
Increment y by more than VSTEP to give the
illusion of paragraph breaks. There are poems embedded in Journey to
the West; now you’ll be able to make them out.
2-2 Mouse wheel. Add support for scrolling up when you hit
the up arrow. Make sure you can’t scroll past the top of the page. Then
bind the <MouseWheel> event, which triggers when you
scroll with the mouse wheel.It will also trigger with touchpad gestures, if you don’t
have a mouse. The associated event object has an
event.delta value which tells you how far and in what
direction to scroll. Unfortunately, macOS and Windows give the
event.delta objects opposite sign and different scales, and
on Linux scrolling instead uses the <Button-4> and
<Button-5> events.The Tk
manual has more information about this. Cross-platform applications
are much harder to write than cross-browser ones!
2-3 Resizing. Make the browser resizable. To do so, pass
the fill and expand arguments to
canvas.pack, and call and bind to the
<Configure> event, which happens when the window is
resized. The window’s new width and height can be found in the
width and height fields on the event object.
Remember that when the window is resized, the line breaks must change,
so you will need to call layout again.
2-4 Scrollbar. Stop your browser from scrolling down past the last display list entry.This is not quite right in a real browser; the browser needs to account for extra whitespace at the bottom of the screen or the possibility of objects purposefully drawn offscreen. In Chapter 5, we’ll implement this correctly. At the right edge of the screen, draw a blue, rectangular scrollbar. Make sure the size and position of the scrollbar reflects what part of the full document the browser can see, as in Figure 5. Hide the scrollbar if the whole document fits onscreen.
2-5 Emoji. Add support for emoji to your browser 😀. Emoji
are characters, and you can call create_text to draw them,
but the results aren’t very good. Instead, head to the OpenMoji project, download the emoji
for “grinning
face” as a PNG file, resize it to 16 × 16 pixels, and save it to the
same folder as the browser. Use Tk’s PhotoImage class to
load the image and then the create_image method to draw it
to the canvas. In fact, download the whole OpenMoji library (look for
the “Get OpenMojis” button at the top right)—then your browser can look
up whatever emoji is used in the page.
2-6 about:blank. Currently, a malformed URL
causes the browser to crash. It would be much better to have error
recovery for that, and instead show a blank page, so that the user can
fix the error. To do this, add support for the special
about:blank URL, which should just render a blank page, and
cause malformed URLs to automatically render as if they were
about:blank.
2-7 Alternate text direction. Not all languages read and lay
out from left to right. Arabic, Persian, and Hebrew are good examples of
right-to-left languages. Implement basic support for this with a
command-line flag to your browser.Once we get to Chapter 4 you could
instead use the dir
attribute on the <body> element.
English sentences should still lay out left-to-right, but they should
grow from the right side of the screen (load this example in your favorite
browser to see what I mean).Sentences in an actual right-to-left language should do the
opposite. And then there is vertical writing mode for some East Asian
languages like Chinese and Japanese.
Did you find this chapter useful?